Contents of this article
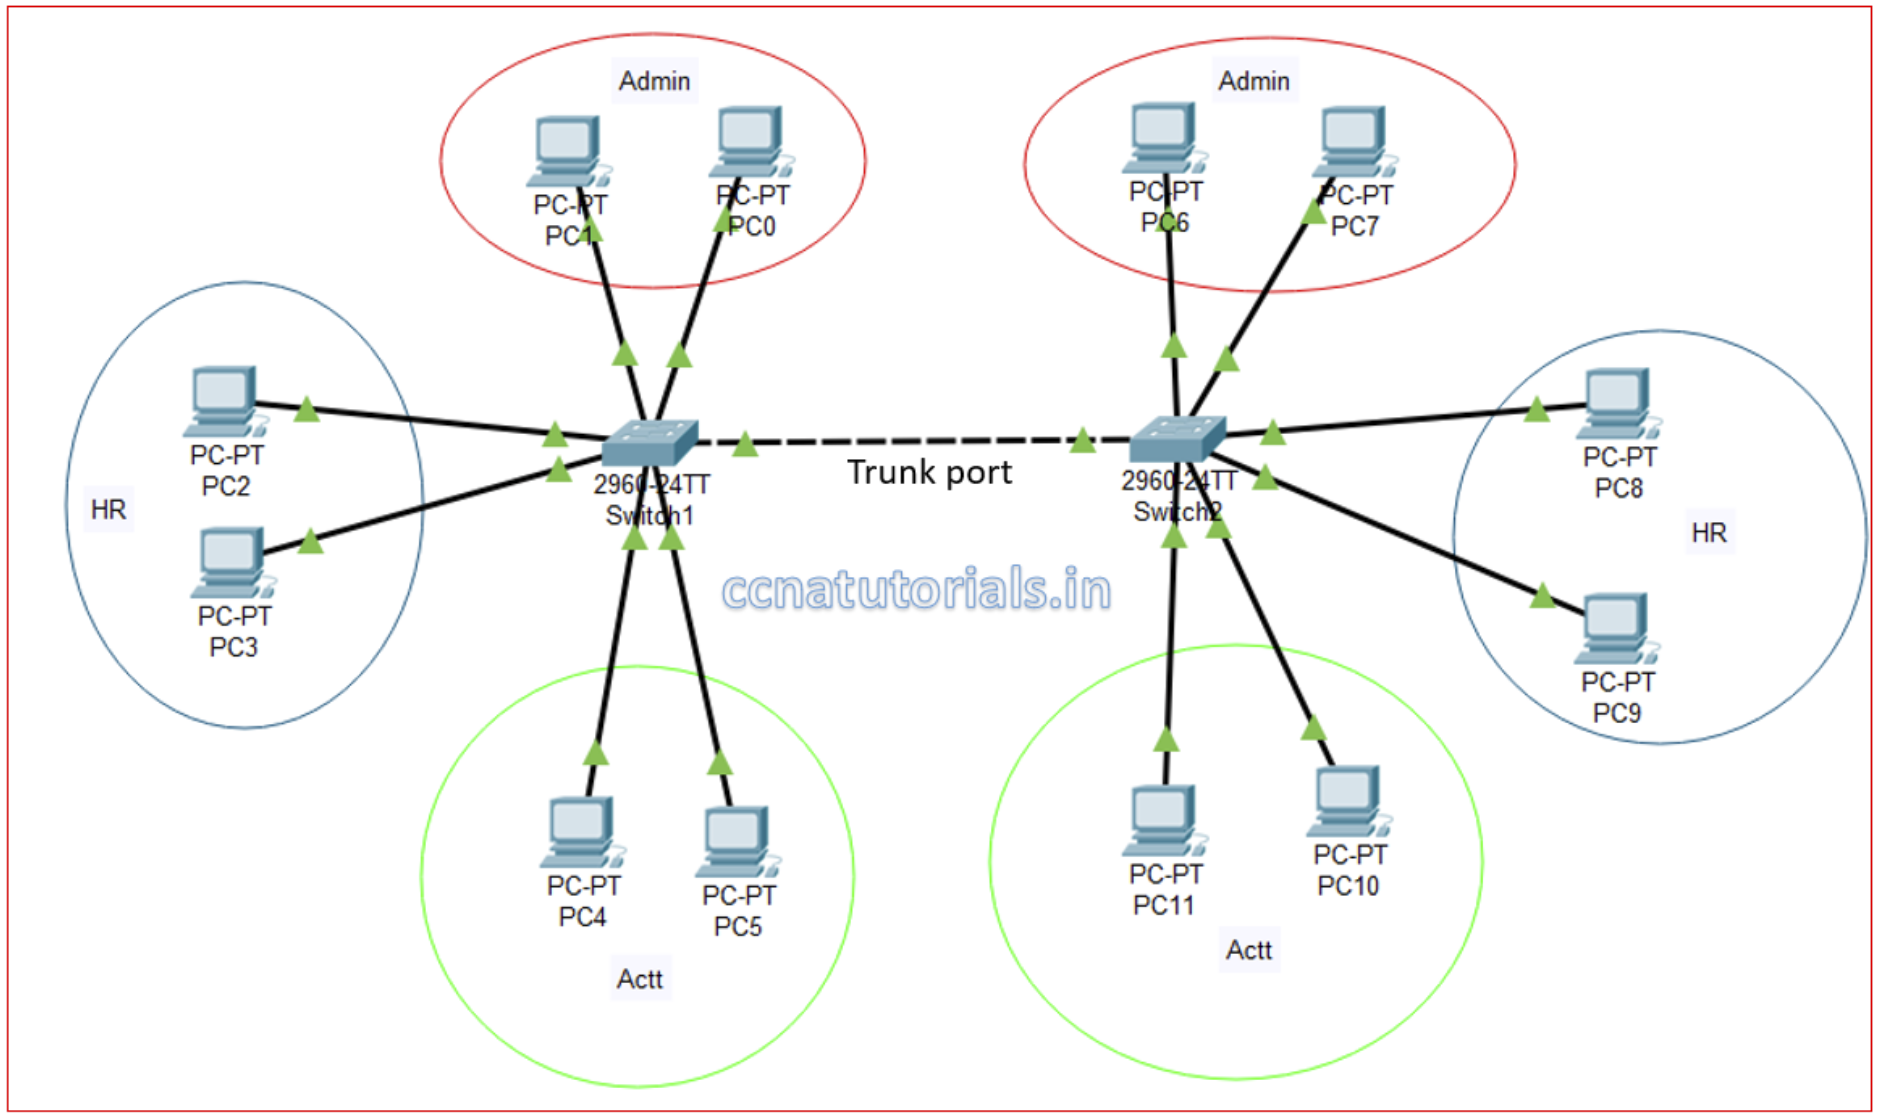
In this article, I describe the basic process of Setting Up Inter VLAN Routing on a Layer 3 Switch. Inter-VLAN routing is a fundamental aspect of network design that enables communication between different Virtual Local Area Networks (VLANs) while maintaining network segmentation and security. Layer 3 switches play a crucial role in facilitating this communication. In this blog, we will walk you through the process of Setting Up Inter VLAN Routing on a Layer 3 Switch, allowing devices in different VLANs to exchange data seamlessly.
Prerequisites Setting Up Inter VLAN Routing on a Layer 3 Switch
Before we dive into the steps, ensure you have the following prerequisites in place:
- Layer 3 Switch: You should have access to a Layer 3 switch capable of routing between VLANs.
- VLAN Configuration: Create and configure the VLANs you want to route. Each VLAN should have a unique VLAN ID and an associated IP subnet.
- Access to the Switch: Access the Layer 3 switch’s Command Line Interface (CLI) via console or SSH.

Step 1: Access the Layer 3 Switch CLI
- Launch your preferred terminal emulator or use the built-in CLI if available on your Layer 3 switch.
- Connect to the Layer 3 switch using the console port or SSH, depending on your network setup.
Step 2: Enter Privileged EXEC Mode
To configure inter-VLAN routing, you need to be in Privileged EXEC mode. If you’re not already there, enter the following command:
enableYou may be prompted to enter your enable password.
Step 3: Enable IP Routing
The first step to enable inter-VLAN routing is to enable IP routing on the switch. Use the following command:
configure terminal
ip routing
Step 4: Create VLAN Interfaces
For each VLAN you want to route, you need to create a VLAN interface. These interfaces act as virtual gateways for the VLANs. Replace <VLAN-ID> with the actual VLAN ID, and <IP-ADDRESS> with the IP address and subnet mask for that VLAN:
interface VLAN<VLAN-ID>
ip address <IP-ADDRESS> <SUBNET-MASK>
no shutdown
exit
Repeat this step for each VLAN you intend to route.
Step 5: Configure Default Gateways
To ensure devices in each VLAN know how to reach devices in other VLANs, set the default gateway for devices in each VLAN to the IP address of the VLAN interface you created in step 4 for that VLAN:
ip default-gateway <DEFAULT-GATEWAY-IP>Step 6: Verify and Save Configuration
To verify your inter-VLAN routing configuration, use the following commands:
show ip interface brief
show ip route
These commands display the status of VLAN interfaces and the routing table, respectively.
Finally, save your configuration to ensure it persists after a reboot:
end
write memory
Step 7: Test Inter-VLAN Routing
With inter-VLAN routing configured, it’s time to test it. Devices in different VLANs should now be able to communicate with each other using the IP addresses assigned to their respective VLAN interfaces.
Conclusion for Setting Up Inter VLAN Routing on a Layer 3 Switch
Setting Up Inter VLAN Routing on a Layer 3 Switch is essential for enabling communication between VLANs within your network while maintaining segmentation and security. By following the steps outlined in this guide, you can successfully configure inter-VLAN routing, allowing devices in different VLANs to communicate effectively and enhancing the flexibility and functionality of your network. I hope you found this article about Setting Up Inter VLAN Routing on a Layer 3 Switch helpful. You may drop a comment below or contact us for any query related to the contents of this website.


