
Contents of this article
In this article, I describe Configuring a Switch in Packet Tracer step by step. Configuring a Switch in Packet Tracer is a fundamental task in network administration and design. Switches play a crucial role in connecting devices within a local area network (LAN), facilitating communication and data exchange. In this comprehensive guide, we will explore the step-by-step process of enabling and configuring a switch in Packet Tracer, a versatile network simulation tool commonly used for learning and practicing networking concepts.
Understanding Switches in Networking
Before diving into the process of Configuring a Switch in Packet Tracer, it’s essential to understand the role of switches in networking:
- Device Connectivity: Switches are network devices that connect various devices, such as computers, servers, printers, and other switches, within a LAN. They operate at Layer 2 (Data Link Layer) of the OSI model and use MAC addresses to make forwarding decisions.
- Traffic Segmentation: Switches segment LANs into smaller collision domains, reducing the likelihood of network collisions and improving network performance. Unlike hubs, which broadcast data to all connected devices, switches forward data only to the device for which it is intended.
- Broadcast Control: Switches intelligently forward broadcast and multicast traffic to the appropriate ports, preventing unnecessary network congestion. This helps optimize network bandwidth.
- VLAN Support: Many switches support Virtual LANs (VLANs), which allow network administrators to logically group devices into separate broadcast domains, even if they are physically connected to the same switch.
Now, let’s proceed with enabling and configuring a switch in Packet Tracer.
Enabling and Configuring a Switch in Packet Tracer
Step 1: Launch Packet Tracer
Begin by launching Cisco Packet Tracer on your computer. Ensure you have a Packet Tracer project open or create a new one if you’re starting from scratch.
Step 2: Access the Devices Panel
To enable and configure a switch, you need to access the Devices panel in Packet Tracer:
- On the left side of the Packet Tracer window, you’ll find the “Devices” tab. Click on it to expand the Devices panel.
- Within the Devices panel, locate the “Switches” category. This category contains various switch models that you can add to your network topology.
Step 3: Select and Add a Switch
Packet Tracer offers several switch models, each with different capabilities and features. Select a switch model that suits your network design requirements, and then click and drag it onto your workspace to add it to your network topology.
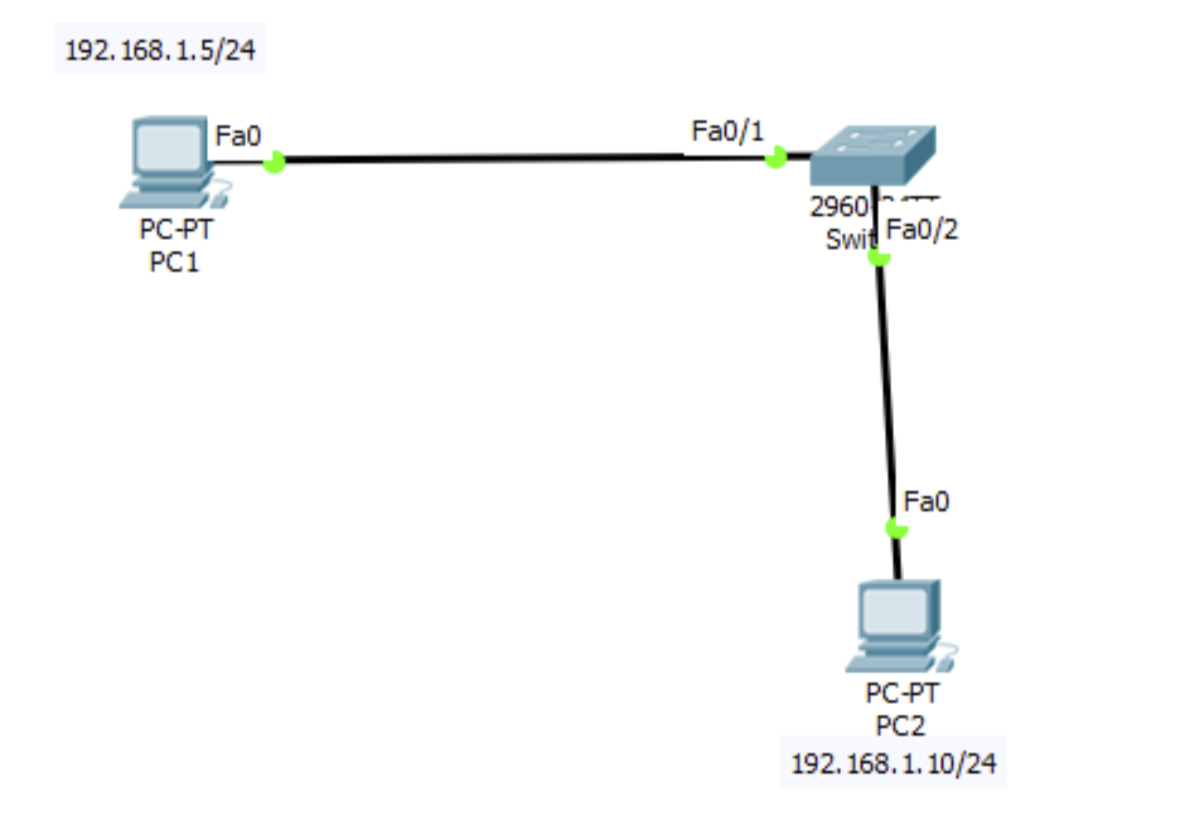
Step 4: Connect Devices to the Switch
Once you’ve added a switch to your workspace, you can connect devices to it. Devices can include computers, servers, other switches, and printers. To connect devices:
- Access the “End Devices” category in the Devices panel to select the devices you want to connect to the switch.
- Click and drag the selected devices onto your workspace.
- Use Ethernet cables (straight or crossover) from the “Connections” panel to connect the devices to the switch’s available ports. Click on the cable type and drag it from a device’s network interface to a switch port.
Step 5: Configure the Switch
Configuring a switch in Packet Tracer involves setting up certain parameters and features. Here are some common configurations you can perform on a switch:
Assign a Name:
You can assign a name to the switch for easier identification. Access the switch’s command-line interface (CLI) by double-clicking on the switch icon, and then use the following commands:
Switch> enable
Switch# configure terminal
Switch(config)# hostname ccna
ccna(config)# end
ccna# write memory
This sequence of commands enters global configuration mode, sets the hostname to “ccna” exits configuration mode, and saves the configuration.
Create VLANs:
If your switch supports VLANs, you can create and configure them to segment your network. To create VLANs, access the switch’s CLI and use commands like:
ccna> enable
ccna# configure terminal
ccna(config)# vlan 10
ccna(config-vlan)# name Sales
ccna(config-vlan)# exit
ccna(config)# vlan 20
ccna(config-vlan)# name Marketing
ccna(config-vlan)# end
ccna# write memory
In this example, we’ve created two VLANs, named “Sales” and “Marketing.” Be sure to assign VLANs to specific switch ports to segment traffic.
Configure Port Security:
Port security allows you to control which devices can connect to switch ports. It’s a security feature that prevents unauthorized access. To configure port security, use commands like:
ccna> enable
ccna# configure terminal
ccna(config)# interface GigabitEthernet0/1
ccna(config-if)# switchport port-security
ccna(config-if)# switchport port-security maximum 2
ccna(config-if)# switchport port-security violation restrict
ccna(config-if)# switchport port-security mac-address sticky
ccna(config-if)# end
ccna# write memory
In this example, we’ve enabled port security on GigabitEthernet0/1, limited the maximum number of allowed MAC addresses to 2, set the violation mode to restrict, and allowed only MAC addresses that have been learned dynamically (sticky).
Set Up Trunk Ports (If Needed):
Trunk ports are used to carry traffic for multiple VLANs between switches. If your network requires trunking, configure the switch ports as trunk ports:
ccna> enable
ccna# configure terminal
ccna(config)# interface GigabitEthernet0/24
ccna(config-if)# switchport mode trunk
ccna(config-if)# end
ccna# write memory
In this example, we’ve configured GigabitEthernet0/24 as a trunk port.
Enable Spanning Tree Protocol (STP):
Spanning Tree Protocol (STP) helps prevent loops in Ethernet networks. It’s typically enabled by default, but you can verify its status and configure parameters if needed:
ccna> enable
ccna# show spanning-tree
ccna# configure terminal
ccna(config)# spanning-tree vlan 10 priority 4096
ccna(config)# end
ccna# write memory
In this example, we’ve checked the STP status and set a lower priority for VLAN 10.
Step 6: Verify and Test
After configuring the switch, it’s essential to verify that your configuration is correct. Use various commands and tools to check the switch’s status, such as:
show interfaces status: Displays the status of all interfaces on the switch, including their operational status and VLAN assignment.show vlan: Lists the configured VLANs and their associated ports.show port-security: Verifies the port security configuration, including the number of secure MAC addresses and the current violation mode.show spanning-tree: Shows the Spanning Tree Protocol (STP) status and topology information.- Conduct traffic tests between devices connected to the switch to ensure that they can communicate as expected.
Additional Considerations for configuring a switch in Packet Tracer
Here are some additional considerations when enabling and configuring a switch in Packet Tracer:
- Documentation: Maintain thorough documentation of your network configuration, including switch configurations, VLAN assignments, and port security settings. This documentation is invaluable for troubleshooting and future reference.
- Backup Configurations: Regularly back up switch configurations to ensure that you can restore them in case of unexpected configuration changes or device failures.
- Firmware Updates: Periodically check for firmware updates for your simulated switch models in Packet Tracer. Keeping the software up-to-date can help address security vulnerabilities and improve functionality.
- Security Best Practices: Implement security best practices, such as strong password policies, ACLs, and regularly reviewing and updating access controls.
- Testing and Simulation: Use Packet Tracer’s simulation capabilities to test different network scenarios and configurations before implementing changes in a production environment.
Conclusion for configuring a switch in Packet Tracer:
Enabling and configuring a switch is a fundamental task in network administration, and Packet Tracer provides an excellent platform for learning and practicing these skills. By following the comprehensive guide outlined in this tutorial, you can effectively set up and configure a switch in Packet Tracer, including common configurations like assigning names, creating VLANs, configuring port security, setting up trunk ports, and enabling Spanning Tree Protocol (STP). Understanding these configurations is essential for network administrators and engineers responsible for managing and designing LANs in real-world networking environments. I hope you found this article helpful. you may drop a comment below or contact us for any query about this website contents.


