
Contents of this article
In this article, I describe the process to Configure VTP on a switch in Packet Tracer. VTP (VLAN Trunking Protocol) is a Cisco proprietary protocol used for managing and propagating VLAN (Virtual Local Area Network) configurations across a network of interconnected switches. VTP simplifies VLAN management by allowing you to configure VLAN information on one switch (known as the VTP server) and have that information automatically distributed to other switches in the same VTP domain. This helps ensure consistency and reduces the risk of misconfigurations.
Here’s a step-by-step guide on how to configure VTP on a switch in Packet Tracer:
Prerequisites for Configure VTP on a switch in Packet Tracer
- Packet Tracer Installed: Make sure you have Packet Tracer installed on your computer.
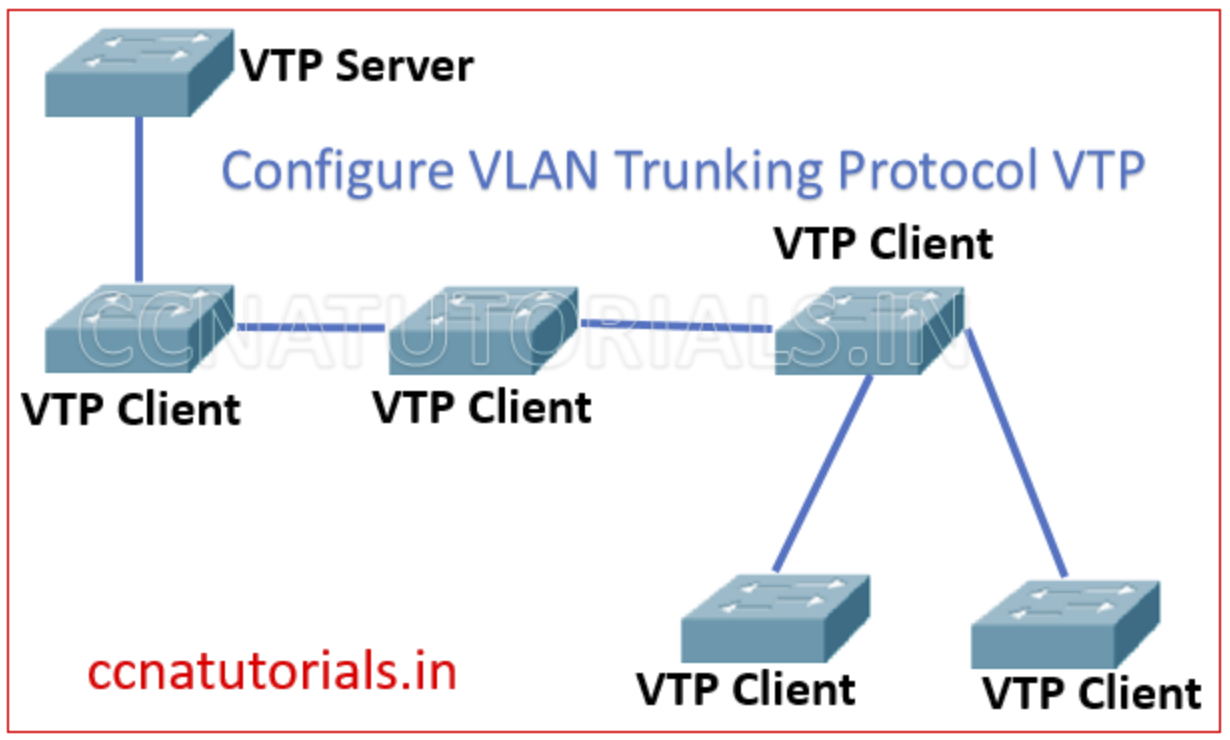
- Network Topology: Set up a network topology in Packet Tracer with at least two switches connected via trunk links.
Step 1: Access the Switch CLI
- Launch Packet Tracer and open your network topology.
- Click on the switch you want to configure as the VTP server or client to select it.
- In the Physical Workspace, click the “CLI” (Command Line Interface) button to access the switch’s command-line interface.
Step 2: Enter Privileged EXEC Mode
To configure VTP, you need to be in Privileged EXEC mode. You can access it by typing the following command and providing the enable password when prompted:
enableStep 3: Configure VTP on the Switch
Now, configure VTP on the switch by specifying the VTP domain name and mode. Here’s an example:
configure terminal
vtp domain <domain-name>
vtp mode <mode><domain-name>: Replace with the desired VTP domain name. This name should match on all switches within the same VTP domain.<mode>: Choose the VTP mode. You can set it to “server,” “client,” or “transparent.” Typically, you would configure one switch as the VTP server and others as clients.
Step 4: Set the VTP Password (Optional)
You can optionally set a VTP password to enhance security:
vtp password <password><password>: Replace with your desired VTP password.
Step 5: Configure VTP Pruning (Optional)
VTP pruning helps optimize bandwidth usage by preventing unnecessary broadcast traffic from being sent over trunk links. To enable VTP pruning, use the following command:
vtp pruningStep 6: Save Your Configuration
To ensure your VTP configuration persists after a switch reboot, save the configuration:
end
write memory
Step 7: Verify VTP Configuration
To verify your VTP configuration, you can use the following command:
show vtp statusThis command displays information about the VTP domain, mode, version, and more.
Step 8: Configure Other Switches (Clients)
Repeat the above steps to configure other switches in the network as VTP clients within the same VTP domain. Ensure that you use the same VTP domain name and mode to ensure proper synchronization of VLAN information.
Conclusion for Configure VTP on a switch in Packet Tracer
This article is just a basic concept to Configure VTP on a switch in Packet Tracer. VTP (VLAN Trunking Protocol) is a valuable tool for managing VLAN configurations in a network of interconnected switches. By following the steps outlined in this guide, you can successfully configure VTP on a switch, ensuring consistent VLAN configurations across your network and simplifying the management of VLANs. I hope you found this article about to Configure VTP on a switch in Packet Tracer helpful. You may drop a comment below or contact us for any query related to the contents of this website.


