Contents of this article
In this article, I describe a Wireless Router in Packet Tracer Network. In the ever-evolving landscape of networking, staying connected wirelessly is not just a convenience but a necessity. As technology advances, wireless routers play a pivotal role in providing network access to a variety of devices, from laptops to smartphones. In this comprehensive guide, we will walk you through the process of adding a wireless Router in Packet Tracer Network, allowing you to create and simulate wireless LANs (Local Area Networks) within the virtual environment.
Understanding Wireless Routers
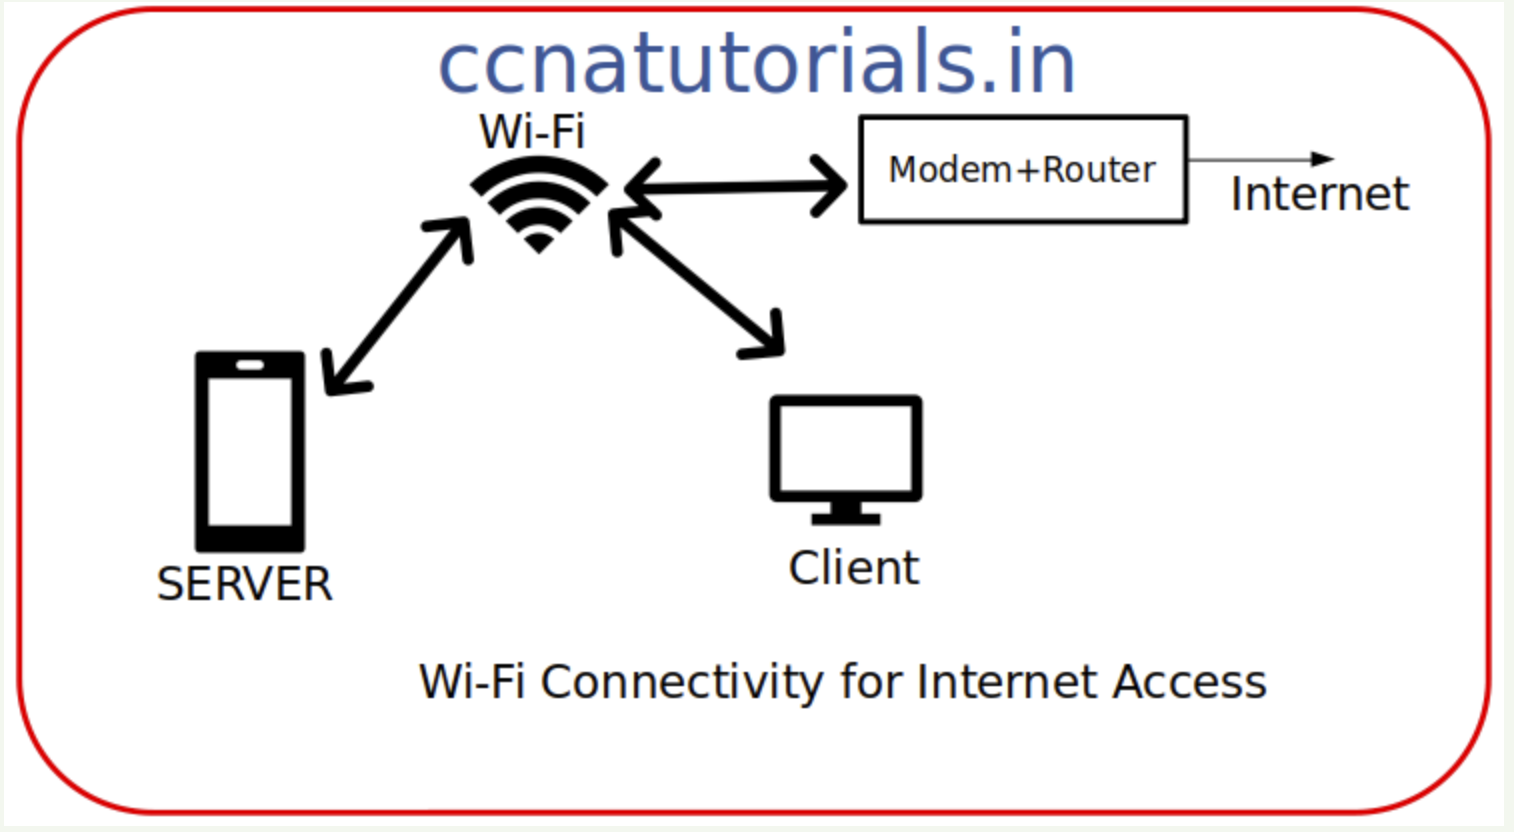
A wireless router is a networking device that combines the functions of a traditional wired router with wireless access points. These devices allow multiple devices to connect to a network wirelessly using Wi-Fi technology. Key components of a wireless router include:
- Router: The core function of a router is to route network traffic between devices within a local network and between the local network and external networks (such as the internet). Routers use IP addresses to determine where to send data packets.
- Wireless Access Point (AP): The wireless access point is responsible for creating a Wi-Fi network within your home or office. It broadcasts wireless signals that devices like laptops and smartphones can connect to.
- Switch: Inside the wireless router, there is often an integrated switch. This switch allows wired devices to connect directly to the router via Ethernet cables.
- Firewall: Many wireless routers include a firewall to protect your network from unauthorized access and potential threats from the internet.
The Packet Tracer Environment
Packet Tracer is a powerful network simulation tool developed by Cisco Systems. It allows users to design, configure, and simulate networks of various sizes and complexities. While Packet Tracer provides an extensive library of networking devices, adding a wireless router is not as straightforward as simply dragging and dropping it into your network. To simulate a wireless router in Packet Tracer, you’ll need to employ a few workarounds, as the tool primarily focuses on wired networking.

Simulating a Wireless Router in Packet Tracer Network
To add a wireless router to your Packet Tracer network, you can follow these steps:
Step 1: Create a Logical Topology
Before adding a wireless router, it’s essential to have a clear understanding of your network’s logical topology. Determine the role of the wireless router, its connection to other devices (such as switches and PCs), and the wireless network settings you intend to configure.
Step 2: Select a Router Model
In Packet Tracer, you can choose from various router models available in the device library. For our example, we’ll use a generic router, but you can select any router model that suits your needs.
- Click on the “Router” category in the left-hand sidebar.
- Drag and drop a router into your Packet Tracer workspace.
Step 3: Configure the Router
To simulate a wireless router, you’ll configure the router to serve as the router, firewall, and wired LAN component. Here’s a basic configuration:
Router Configuration:
Access the router’s command-line interface (CLI) by clicking on the router and selecting the “CLI” tab at the bottom of the workspace.
Set a hostname for the router using the following command:
Router(config)# hostname RouterConfigure IP addresses on the router’s interfaces. For example:
Router(config)# interface GigabitEthernet0/0
Router(config-if)# ip address 192.168.1.1 255.255.255.0
Router(config-if)# no shutdown
Router(config-if)# exit
Repeat the above steps for additional interfaces, if needed.
- Firewall Configuration:
Packet Tracer doesn’t support the full range of firewall configurations found in real routers, but you can add some basic firewall rules. For example, you can create an access control list (ACL) to permit or deny traffic:
Router(config)# access-list 100 permit tcp any any eq www
Router(config)# access-list 100 deny ip any any
Apply the ACL to an interface (e.g., the interface connected to the internet or external network):
Router(config)# interface GigabitEthernet0/0
Router(config-if)# ip access-group 100 in- Wired LAN Configuration:
- Connect Ethernet cables to the router’s Ethernet interfaces to simulate wired LAN connections. You can add PCs and switches as needed and connect them to these interfaces.
Step 4: Simulate the Wireless Network
To simulate the wireless network aspect of a wireless router, you can use Packet Tracer’s built-in “Generic Computer” devices. These devices can emulate Wi-Fi-capable devices that connect to the router’s LAN via a wired connection.
- Add Generic Computers:
- Find the “Generic Computers” category in the left-hand sidebar.
- Drag and drop the desired number of generic computers into your workspace. These will represent your wireless devices, such as laptops or smartphones.
- Connect the Generic Computers:
- Connect each generic computer to one of the router’s Ethernet interfaces using an Ethernet cable.
Step 5: Configure Wireless Settings (Workaround)
Packet Tracer does not have built-in support for configuring Wi-Fi settings on routers or devices. However, you can simulate a basic wireless network by naming your router’s Ethernet interfaces accordingly and visually representing the wireless network. Here’s how:
- Name the Ethernet Interfaces:
- Access the router’s CLI, and for each interface connected to a generic computer (emulating a wireless device), name it with a recognizable label, such as “WiFi1,” “WiFi2,” and so on.
   MyRouter(config)# interface GigabitEthernet0/1
MyRouter(config-if)# description WiFi1- Repeat this step for each interface that represents a “virtual” wireless connection.
- Visual Representation:
- Use labels or text annotations in your Packet Tracer workspace to visually indicate which router interface corresponds to each “virtual” wireless connection.
- Wireless Network Name (SSID):
- For instructional purposes, you can add a label near the router to represent the wireless network’s SSID (Service Set Identifier).
- Note that this is a manual representation and does not configure a real Wi-Fi SSID or passphrase. Real wireless router configurations involve additional settings like security protocols (WPA/WPA2), encryption keys, and SSID broadcast.
Step 6: Test and Monitor
After configuring your simulated wireless router, you can test the network connectivity of your wireless devices by pinging other devices, accessing web services, or any other appropriate tests.
Step 7: Save Your Packet Tracer Project
To ensure you retain your simulated network topology and configurations, save your Packet Tracer project:
- Click on “File” in the top menu.
- Select “Save” or “Save As” and choose a location and name for your project.
Conclusion for Wireless Router in Packet Tracer Network
In Packet Tracer, adding a wireless router involves a bit of creativity and manual representation, as the tool primarily focuses on simulating wired networking components. By configuring a router to serve as the central networking device, incorporating generic computers to emulate wireless devices, and visually representing the wireless aspect, you can create a simulated wireless LAN (Wi-Fi) within your Packet Tracer network.
While Packet Tracer may not offer all the features of a dedicated wireless router, this simulation approach allows you to gain a basic understanding of wireless network concepts and practice configuring a router that serves as the core of your network. As you explore and experiment with networking in Packet Tracer, you’ll develop valuable skills for designing, configuring, and troubleshooting both wired and wireless networks in real-world scenarios. you may comment below or contact us for any query related to the contents of this website.


